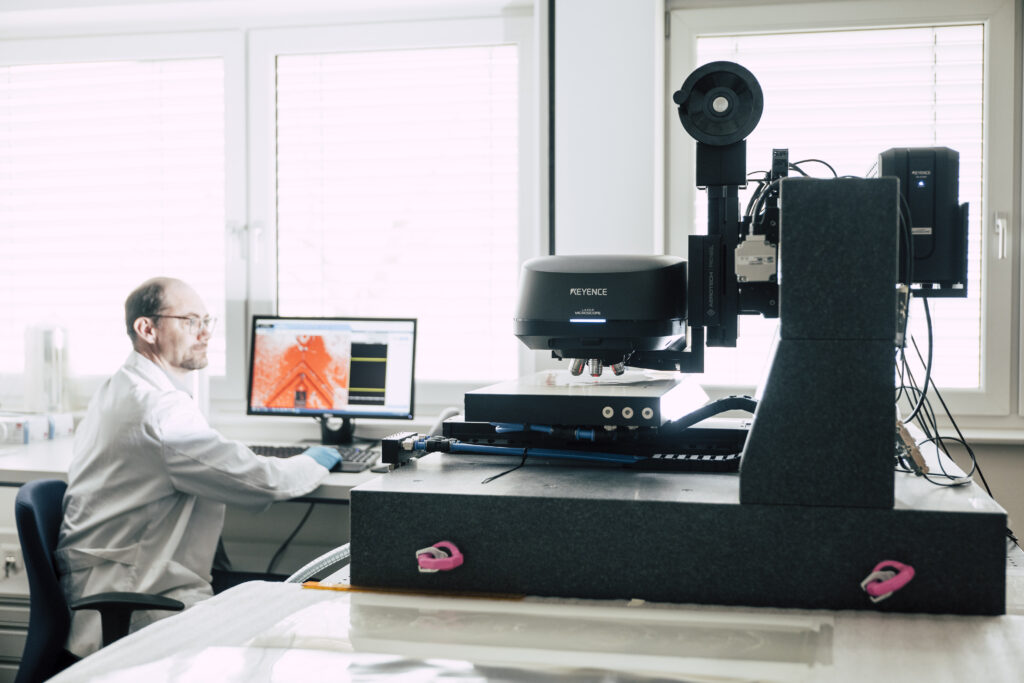
Optical Profilometry
Optical Profilometry
Devices
VK-X1050 / Keyence
MicroProf® 300 / Camtek – FRT Metrology
Expected Result
High-precision topographical data, analysis of surface texture and roughness of the layers. The MicroProf® 300 provides accurate data on the uniformity and depth of thin films, which is crucial for quality control in applications like semiconductor and display manufacturing
Method
Surface characterization using laser light or a combination of chromatic white light and interferometric thin-film sensors. This system enables precise measurement of surface topography, roughness, and layer thickness on large samples.
Case Study
A customer is interested in analyzing the surface texture of metallic components to assess wear and tear. The high-resolution topographical data helps in understanding the degradation mechanisms and improving material performance.
A display manufacturer needs to ensure consistent thickness and surface smoothness of a thin film coating. Using the MicroProf® 300, the technician measures the thickness and roughness across a large glass substrate, verifying uniformity and identifying any defects that could affect display performance.
3D Optical Profiler MicroProf® 300 / Camtek – FRT Metrology


Specifications
- Measurement region:
- XY – 415 mm x 305 mm
- Z – 600 µm
- Lateral resolution 2 µm
- Vertical resolution:
- Chromatic white light sensor (CWL) ± 0.02 – 0.3 µm
- Interferometric thin film sensor (FTR): 2 – 1000 ± 0.2 – 3 nm (SiO2 on Si wafer)
3D Laser Scanning Microscope VK-X1050, Keyence

Specifications
Fast acquisition of measurement areas up to 100 × 100 mm
Maximum sample sizes mountable up to 630 x 300 mm2
Vertical resolution: > 20 nm
Quantification of surface roughness and texture
